Heavy Duty Truck Engine Rebuilders In Edmonton
Heavy duty Truck Engine Rebuilding In Edmonton
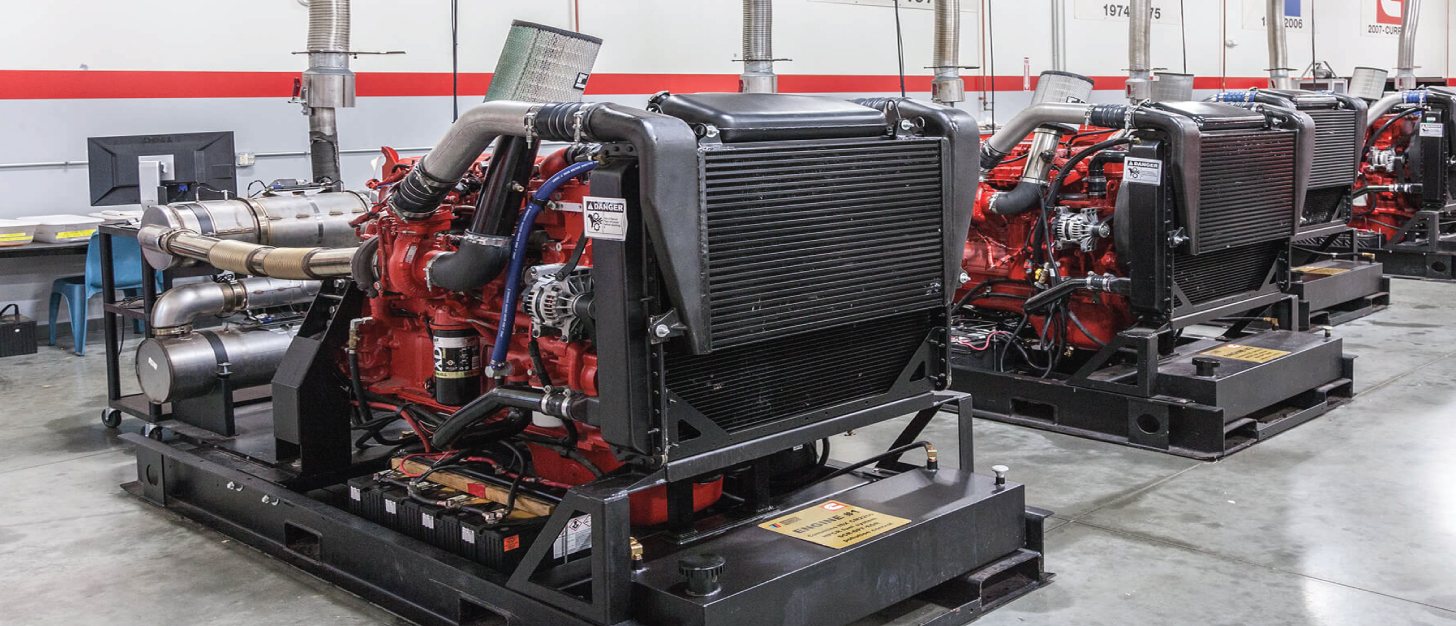
G.B Truck and Diesel offers comprehensive Heavy Duty truck engine rebuilds in Edmonton. Whether you need a Heavy duty truck engine replacement or Heavy duty truck engine rebuild in Edmonton, our full-service heavy duty truck engine rebuilding company in edmonton and our skilled labor have the right solutions for you. We service, repair, and rebuild heavy duty truck diesel engines .Our facility is well equipped with high-tech equipment to restore your heavy duty truck engine to great working order.
Whenever you come to us for your heavy duty truck engine rebuilding or repairs, you’ll get full service from our licensed and certified team in edmonton that’ll get your vehicle back up and running quickly. From engine repairing and block reboring to engine parts and cylinder head rebuilding, we do it all at our facility in Edmonton. We have the knowledge and experience to get your job done right the first time,that is the reason we are rated as the best shop for heavy duty truck engine rebuilders in edmonton. Our team at G.B truck and Diesel stays up to date with the latest technological advancements. So, no matter which model you’re driving, we have you covered. Contact us for more details for your heavy duty truck engine rebulding services in Edmonton.
Heavy Duty Truck Engine rebuilding stages:
- Disassembly
- Hot Tanking
- Inspection and Assessment
- Machining all Components
- Replace all the necessary components for rebuild
Heavy Duty Truck Engine Rebuilding Stages
Disassembling the Heavy Duty Truck Engine In The Heavy duty Truck Engine Rebuilding Process
We have these custom little adapters that go into the head during the heavy duty truck engine rebilding services in edmonton.It will get a little pic and then pull the adapter out and then the O-rings but you always have to be careful not to scratch the bore during the process of heavy duty truck engine rebuilding, if you scratch the board the O-ring won’t seal very well, so there is a little cover for the intake ports and it stops anything from getting into the engine.
We also have like this box of just they’re just capped so get the cap put it over an N fitting and it stops the oil from leaking out anymore and also it stops you know dirt or whatever from getting in while the pump is sitting on the bench pop the rest of the pump outset that aside and then we’ve got some custom aluminum brackets that adapt that pump to our engine zip.Each step is very important in this heavy duty truck engine rebuilding process.
So, we have this little puller a couple of screws go in, and then that center bolt pushes on We put a stock pulley bolt back in, and then it pushes on that stock pulley bolt we have to leave a little bit of a gap and see that little gap I make and then when you push on the center bolt it is able to you know pull the pulley offset the sucker aside and now we pulled the cam position sensor off and then all of the timing covers so all these timing cover bolts, once they come off this timing cover, is actually sealed with a bunch of silicone.
It doesn’t want to come off of that easy we have a little power steering bracket pop that suckers off so the silicone is sticking now. the whole timing cover on so we’ll get a pry bar and you know try to find some more flat that we don’t you know to mess up the aluminum or anything get that started and then the rest of the way it comes off a little bit oil still leaking now you can see the whole timing chain timing drive area so the one on the left the letter Cup in the top that’s a variable cam and then the one the right is a custom cam here that we make and then it’s all-chain drive and you can see the crank trigger wheel inside there we’ll pull the automatic tensioner off and all the timing guides and then we can pull the timing chain off and set that aside all the stuff will be inspected before we put it back together.
It’s actually really good that’s actually a lot of stock parts their stock to it a chain and tensioner stuff is real good so I’ll break loose all the cam kappa so like this whole top assembly is pretty nice design factory Toyota and then zip it all out and the cams and this whole like girdle piece come off together we’ll set that aside on the clean area so you can see the cams the cam gears and how this whole assembly works it’s a great design, it’s very rigid and yeah stock this is big.
We carry as the rocker arms but all this custom stuff actually works really well now you can see the titanium retainer and the dual valve springs before I pull this off a number all of the rocker arms where they came from and then a quick little inspection and a set them on the table over.
The way this works is there’s a little roller and the cam pushes on that roller and then it pushes down on the valve that’s how the valve opens these are little solid lifters stock the car has hydraulic but we installed these solid lifters with these little shims so that’s how you do the valve adjustment are these little shims these are pain in the rear to assemble these engines because of all these little shims and all these specialty components but that’s why it’s kind of fun watching one of these things being disassembled because you could get to see all the inside parts that you normally don’t have in a street engine.
So pull all the shims out in order so we know where they came from now we’ll go to the exhaust side this is a super custom rocker arm setup so instead of like that rocker. I’m just sitting on there like the intake side we designed this so there’s a shaft so the rocker arm can’t fall off or go anywhere so this is all custom rocker arm stuff we’ll loosen two little bolts that hold them into the stands and then we’ll pull it out as a whole assembly and the whole assembly has a couple of shims under it.
That’s how we do the valve adjustment again little magnet get those shims out set them aside and keep them all in order so stock this is a 6,200 rpm engine and anything you know close to 7,000 they have a lot of issues with you know valve float and rocker arms falling off and stuff but now we can read 9,000 no problem with all these modifications so this is the head studs they’re actually upsized to half-inch diameter it’s a lot larger than the stock and they take 150 foot-pounds of torque, so I’ll loosen them all in a quarter turn just so we don’t get one loose all the way any other ones are all tight so, we’ll do a quarter turn get them a little bit looser and then zip them all out.
I’ll get my trusty magnet to get all the washers and then once again all the washers and all the stuff I’d like to set them all aside and make sure they’re all accounted for before moving to the next step it’s always a pain if you pull the head off and set it up you know aside and then you know bolts and stuff falls out of it try to count for everything before moving to the next step, so now we’re looking in the bore this is pretty normal we don’t use coolant in the racing engines it’s just water so they will have a little bit of like corrosion a little bit of rust but that’s really normal, you can see how or the head gasket sealing areas this one is sealing pretty well but this is always a weak link in these engines that head gasket and they’ll usually blow right between the two cylinders so in order to turn the engine now. I’ll put a stock pulley bolt on there and then you know just turn it make sure everything looks okay and move to the next step which is a little bit more inspection.
You know this thing has four weekends on it at least of drift racing, so it’s got a bit of use and you see a little bit of rust and the cylinders there that’s because we were going to ethanol fuel and then after a weekend when you park the thing in the trailer, it’s four weeks at a time and it’ll actually add a little bit of rust it doesn’t hurt the performance really but it just doesn’t look very good either so now this is part of the oil pan this is like a big scab and rail so we’ll zip all those bolts out and then set it aside and that we can access the bolts to pull the rest of the oil pan out so, this is a one really long bolt that goes in and the rest of them or like Alain Sokka style.
keep the minimal amount of oil in the pan that helps with reducing the amount of oil on the crankshaft spinning around and helps with horsepower and keeps the oil temps down that’s the rear main seal before you move to the next step I’ll turn it and just sort of feel all of the rods and make sure there are no obvious issues before pulling apart okay so before pulling out the pistons we are going to clean this little Carbon Ridge along the top area of the bore because when we push the piston out we don’t want that top ring to hit that carbon and then mess up the ring or you know to make something really dirty so we’ll clean that up so loosen the two-rod bolts and We don’t go all the way lose I’ll actually leave them threaded in there a little bit so when you hit the end of the ratchet it could push the rod out but you’re not missing any of the threads up.
So the next step is pulling the bolt all the way out and you got to be careful because that bearing usually tries to fall out. We’ll just sort of push the piston down a little bit and the Rings are holding it from falling out right now. but once you get the rod pushed down a little bit more it’s going to want to fall the way down so you want to have a second you know one hand pushing it down, on the other hand, making sure that you can catch it so there we go 4je piston runs a Carrillo rod this is all super custom and super buff for the horsepower that we make and the little marks and stuff that you see it on the side of the piston that’s all really normal wear and that’s pretty normal bearing well as well for the horsepower that we run so we’ll probably replace the bearings in it even though they don’t look so bad but once you have a part you know you just replace these relatively inexpensive parts so now we’ll go and pull the other three Pistons and rods outset those loosen all of the main cap bolts and then zip them all out.
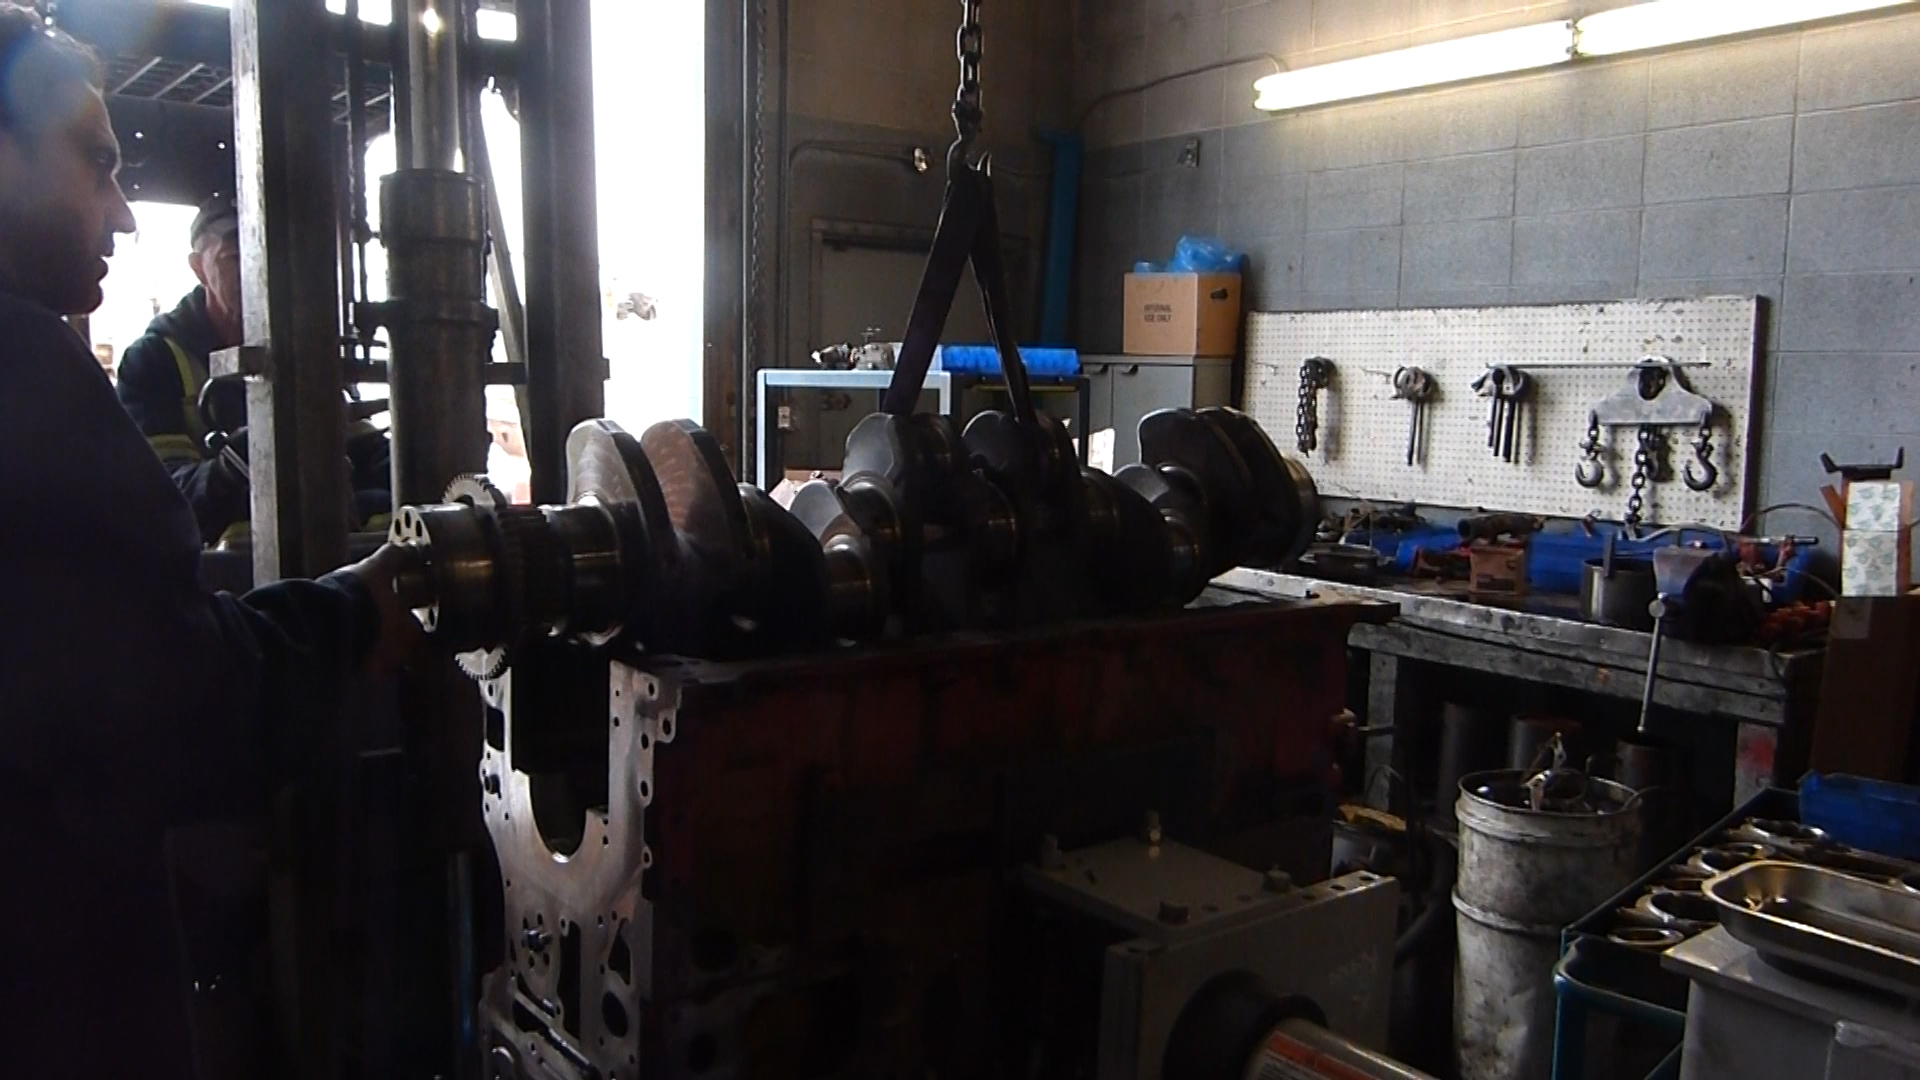
The next step is to pull the crankshaft out you got to be careful, once you get the crankshaft up a little bit the bearings tend to want to stick to all the journals so if you don’t have the problem where when you pull the crankshaft down the bearings fall all over the place I’ll lift the crank up aa little bit and then you see will see that I will push the bearings kind of back down again and then bring the crank over to the table.
Now we’ll pull all the bearings out these actually look really good and set them up on the table and I’ll mark them from one and number one is always on the pulley side like where the crank pulley is the transmission.
Hot Tanking The Heavy Duty Truck Engine in the Heavy Duty Truck Engine Rebuilding Process

Cleaning engine parts is of utmost importance in the process of heavy duty truck engine rebuilding, as before you can inspect the parts they need to be cleaned of all rust, old paint. It is counted as the most time-consuming process in the heavy duty truck engine rebuilding process
HOT TANK
Hot tanking is the traditional method of cleaning dirty cast iron engine blocks, heads, etcIt is the fourth step in the heavy duty truck engine rebuilding phase. The hot tank is just a big metal tank with a very nasty, caustic hot water solution in it. The hot tank is made of metal tank caustic hot water solution. We use advanced technology to make sure the every part is cleaned rally well in the heavy duty truck engine rebuilding process.The parts are submerged in the solution and allowed to soak for many hours with the solution slowly circulating around them. This is sometimes referred to as “vatting” or “boiling” the heavy duty truck block because it is being soaked in a large “vat” of almost boiling liquid. A hot tank does a good job of cleaning heavy duty truck engine parts but does not always remove all of the rust and old paint. Because of environmental rules and regulations, a lot of shops are doing away with this method of cleaning.
Aluminum parts cannot be cleaned in a hot tank as they will dissolve.
Inspection and Assessment of Heavy Duty Truck Engine in the heavy duty truck engine rebuilding process
Inspection is the third step in the heavy duty truck engine rebuilding process in Edmonton.
What are the most common examples of Heavy duty truck engine block wear?
Abused
Overheated
Lack of maintenance
How can we repair Heavy duty truck engine blocks?
Cold Weld
Vintage block
How to test the accessibility of a used Heavy duty truck block
Magnafluxing
Pressure test
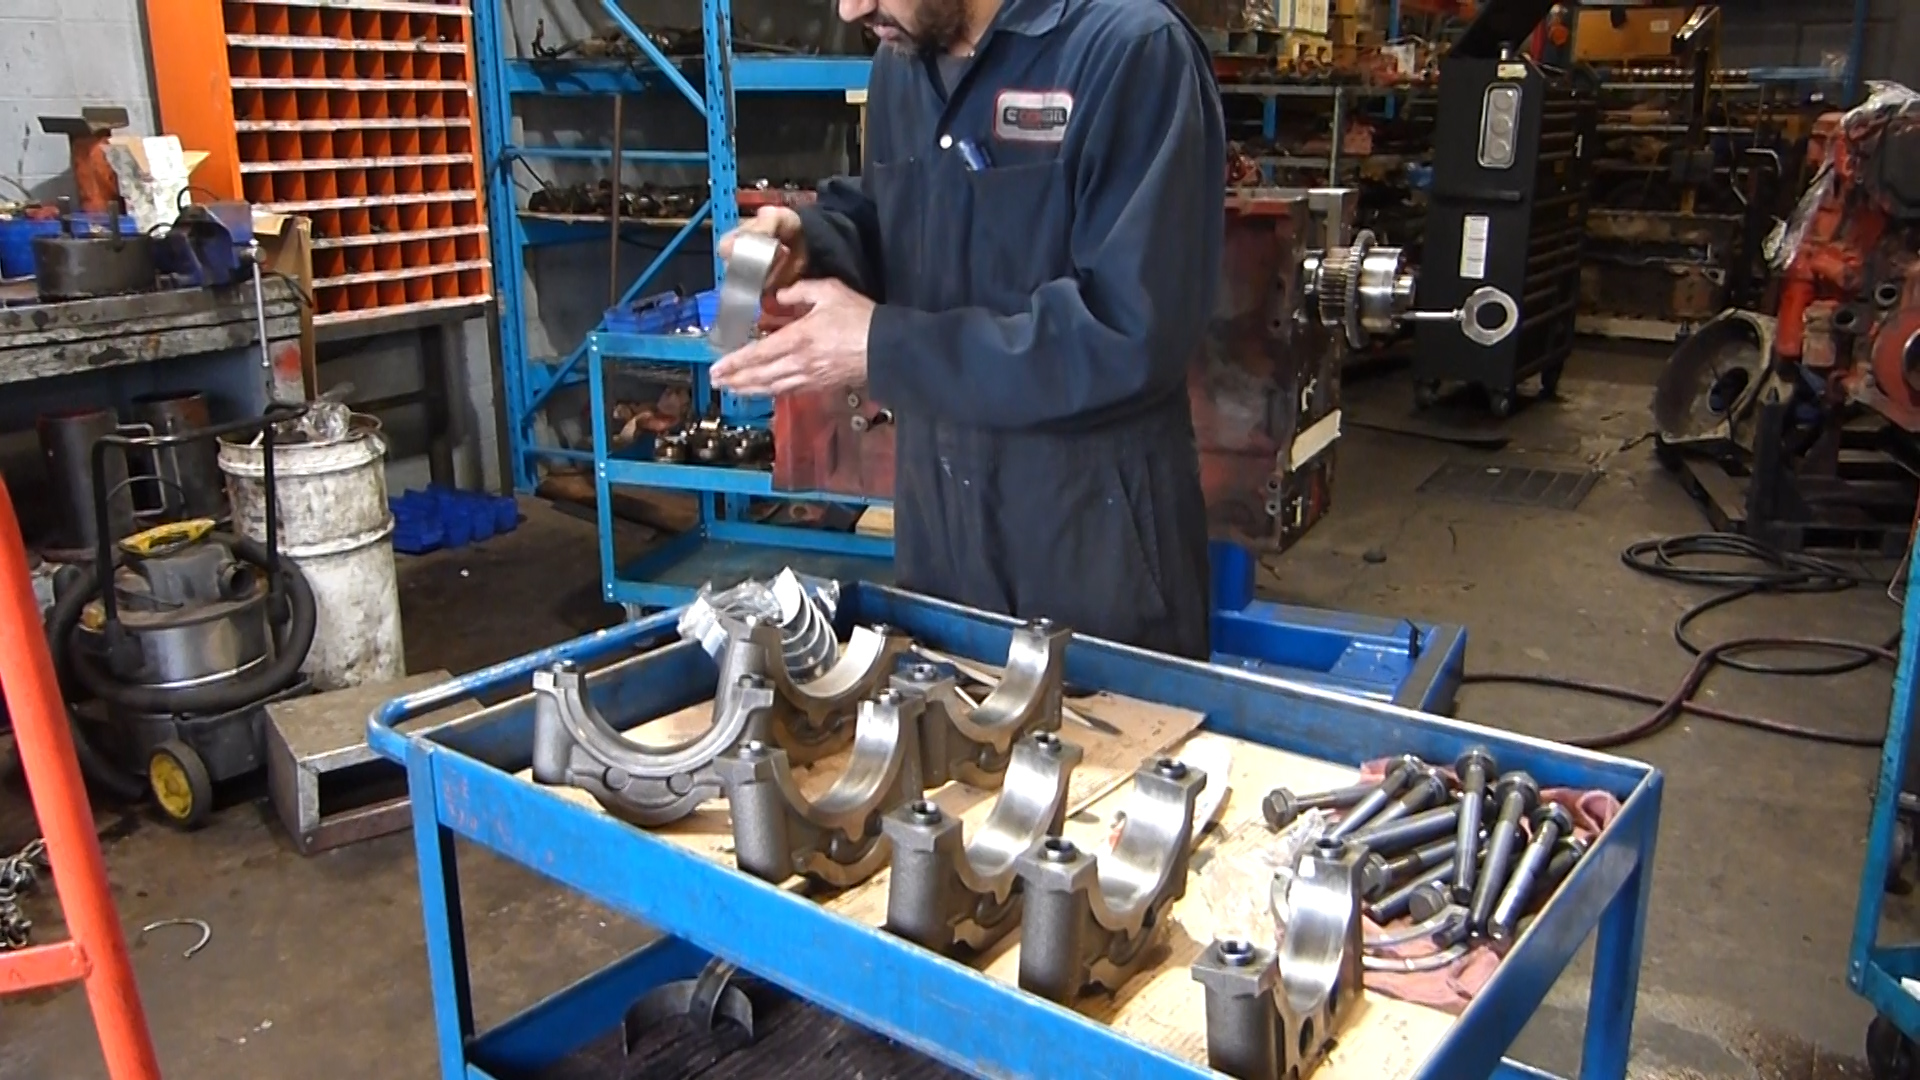
Machining all Components oF Heavy duty Truck Engine in the Heavy duty Truck engine Rebuilding Process
Machining is the fourth step in the heavy duty truck engine rebuilding process in Edmonton.Caps are put back on the block and tightened and torque to spec after being cut the opening, is no longer circular. it’s a slide over the size is checked with a dial bore gauge and the honing stones are inserted and expanded until the proper drag is felt. The honing drill is lined up with stones and once the oil starts to flow through the tube above the block the stones are passed in and out while the drill is running.
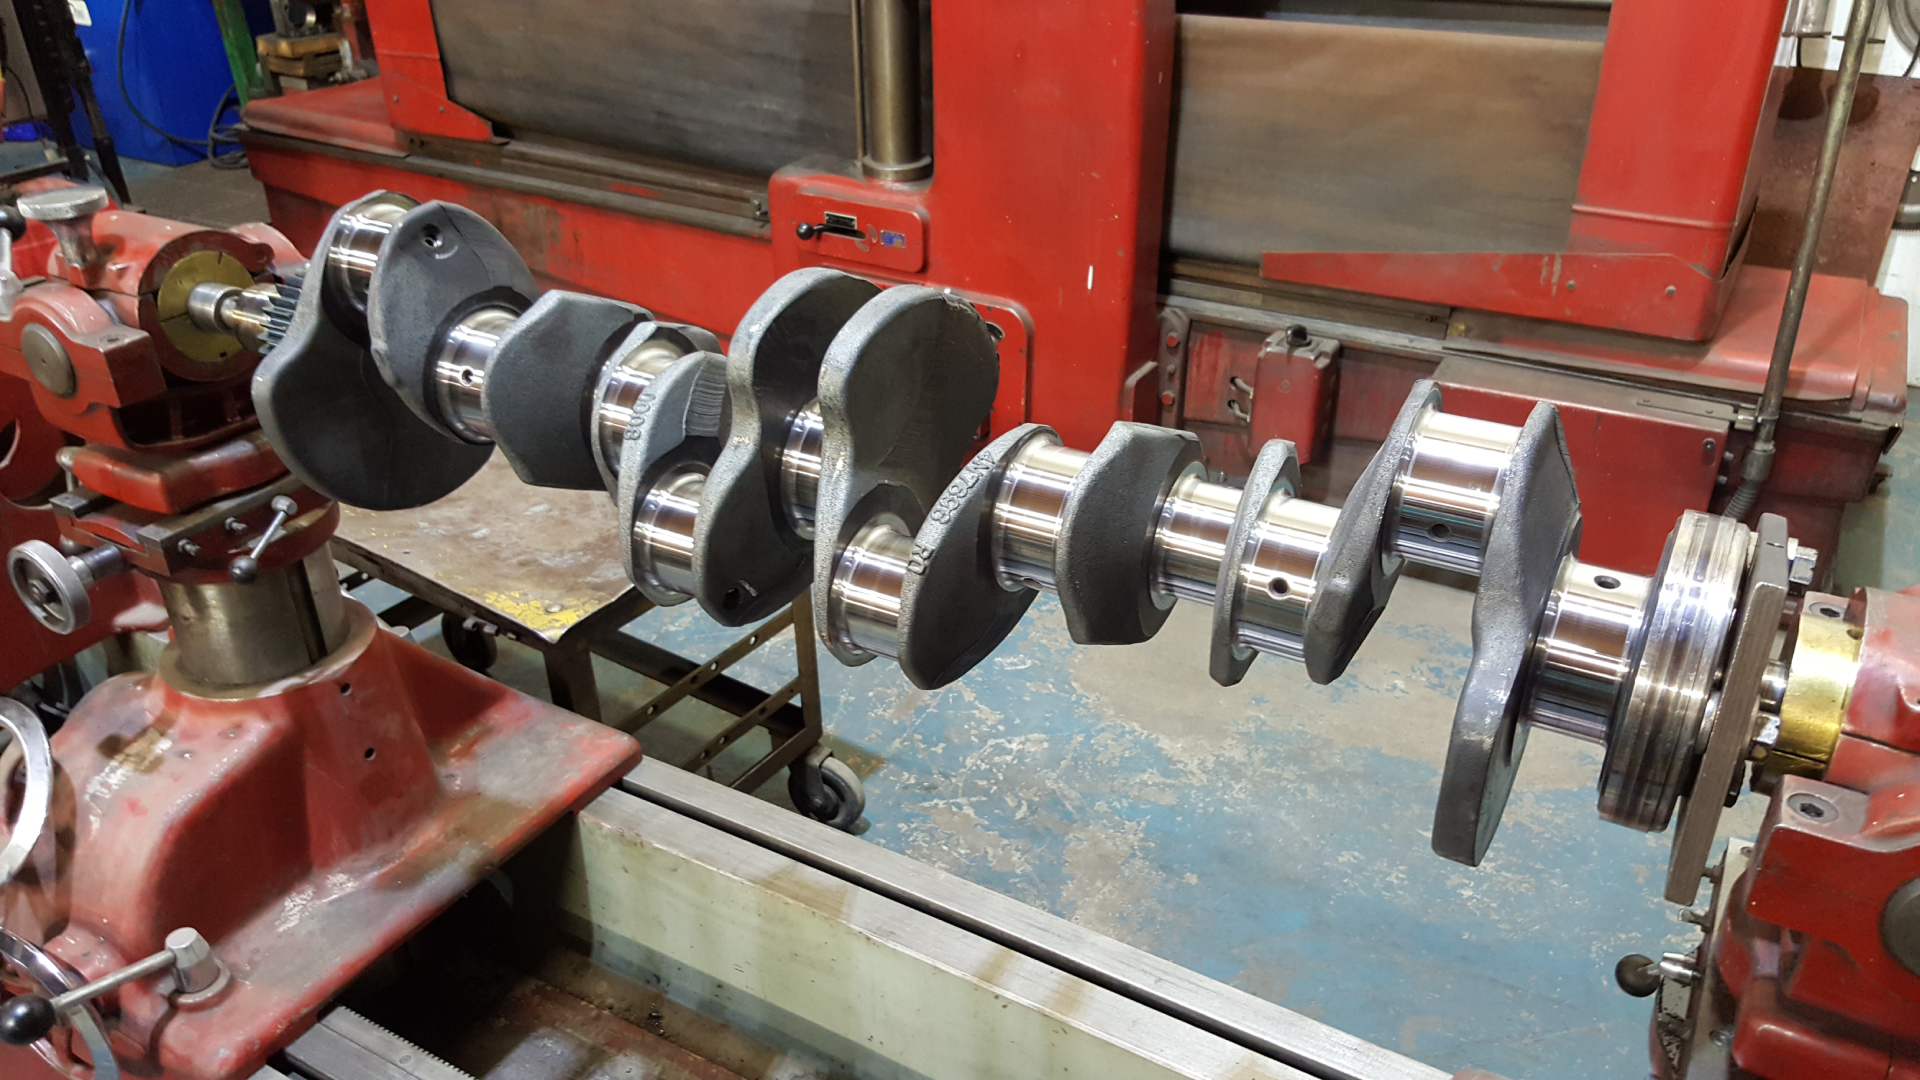
During this important step in the heavy duty truck engine rebuilding, metal is being removed and the oval shape begins to return to a perfect circle as the stones take-off metal the block and caps begin to heat up. The machinist checks the size with a gauge and then takes a break to let the blocks sit and cool so the metal will return to its true size. After a few minutes of cooling the stones are run again and the progress is checked with a gauge, then the heavy duty truck engine block is lifted and turned around so that the hone can be finalized to the perfect size.
From the other side, this is the first process for the heavy duty truck block because the next two things to be done is dependent on a perfectly straight line, from the main bearing for proper mounting, to the machine for decking the alignment dowels.
The hevy ttruck engine heads are removed and the block deck is leveled, when the deck is perfectly level and the machine is started. It runs by itself, at a set pace, and shaves off a few thousandths of an inch to make the deck perfectly flat, so that the new head gaskets in the heavy duty truck engine will have no problem sealing out water or air or oil leaks when one deck is done.
The block is rotated and the machine is set up again, both decks have to be cut or there’s going to be a difference in the compression ratio from one side of the motor to the other and the intake manifold won’t fit properly.
The machine needs to be set in the approximate centerline of the first cylinder bore then the machinist tells the machine that what type of core it is and presses go and the machine will take care of the rest. This is a complex and vital step in the heavy duty truck engine rebuilding stage.For the first half of the block, this particular machine will then Center itself in the bore and then the cutting tool for the proper bore size which was already set up in the spindle will go to work once it starts to spin. This machine knows how far to go down in the heavy duty truck engine bore for each heavy duty truck engine type that is programmed into it when one bore is done it will retract the spindle and automatically move to the next bore and center itself once again it will go through and cut all the bores to size for this first side of the block, the block will then be lifted out and flipped to the other side, to get finished. A piston bore that is still the original diameter as when it left the factory is said to be a standard size.
The normal increments for heavy duty engine truck Pistons that are manufactured for oversized bores are 10, 20, 30 ,40, and 60 thousandths of an inch, the boring machine will cut the heavy duty truck engine cylinder wall to a few thousandths of an inch shy of whatever size you will need and later the honing machine will open it up to the exact dimensions
Replace all the necessary components to rebuild in the Heavy Duty Truck Engine Rebuilding Process

This is the fifth step in the heavy duty truck engine rebuilding process in Edmonton.At this stage of the heavy duty truck engine rebuilding stage, you would require an heavy duty truck overhaul kit. Heavy duty truck overhaul kits can be categorized into different categories keeping in mind the components included in that kit. Generally speaking, an heavy duty truck overhaul kit consists of :
• Pistons and Rings
• Cylinder Liners
• Main Bearings
• Upper Engine Gasket Set
• Piston Cooling Nozzles
• Connecting Rod Bearings
• Oil Pan Gasket
• Fuel and Lube Filters
• Oil Bypass Valve
• Coolant Thermostat
• Turbo Studs/Locknuts